 |
|
|
|
The Definitive Betamax Web Resource
|
||
|
|
|
|
The Definitive Betamax Web Resource
|
||
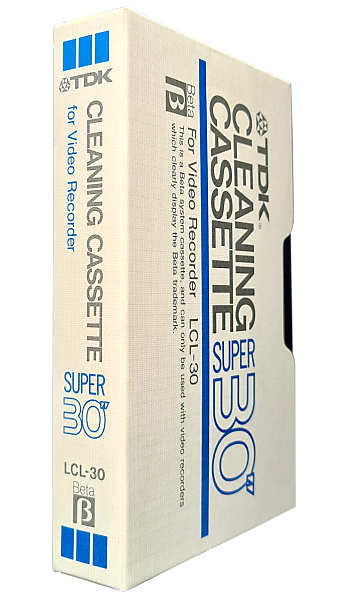
If your VCR is easy to get to (not stacked under other components or not mounted in a rack), cleaning heads on your machine is not hard and something you can do yourself if you are very careful. Even if it is hard to get to, sometimes it is necessary to clean the heads anyway. All it takes is a good #2 phillips screwdriver, the proper cleaning swab, the proper cleaning fluid, and lots of careful attention (actually, the following procedure will work for most any VCR, but I am specifically referring to Sony Beta machines here). It is actually easier to do it than to read or write about how to do it! But here goes anyway.
Now carefully remove the case screws from the case of the machine, and then carefully lift the case off the machine. Usually the case screws are only on the sides, but I have also seen them on top and even in the back. (The proper case screws to remove are usually identified by "arrows" embossed in the case. If so, do not remove those which are not identified with an arrow.) On some machines I have found that a #1 phillips screwdriver is best to remove the case screws, but usually a #2 works well.
At this point some machines (such as the SL-HF750) will show direct
access to at least part of the heads' travel in the drum. On other
machines it may be necessary to look under something to find access to
it. (If you don't instantly find it, view it from the tape load access
door.)
So it may be necessary to remove some of the screws on a circuit board in order to pivot the board out of the way. If so, Sony always identifies which screws secure a circuit board by printing on the board an "arrow" (usually white) pointing to the mounting screws. This is an easy deal: remove the two or three screws and pivot the board out of the way. Be extremely careful not to discharge any static electricity into the circuits of the open machine. I completely avoid touching any of the board components or circuits, and handle the circuit boards only by their edges. And, of course, be careful not to drop the screws into the machine! (I hate it when that happens!) A magnetized screwdriver helps here, but be absolutely sure to keep it well away from the heads!
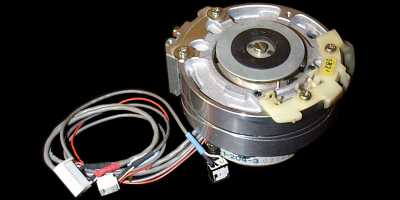
 After you find the drum assembly and have clear access to it, now you
can clean the video heads. Take great care not to move the swab while
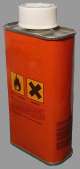
the head is in contact with the swab. You can use the cleaning fluid
from the cleaning kit, but denatured alcohol is cheap and works great
too. Rotate the drum so that one set of heads comes into view.
Dip the swab in cleaning fluid and press the damp swab gently
across the centre slot on the drum next to the heads.
After you find the drum assembly and have clear access to it, now you
can clean the video heads. Take great care not to move the swab while
the head is in contact with the swab. You can use the cleaning fluid
from the cleaning kit, but denatured alcohol is cheap and works great
too. Rotate the drum so that one set of heads comes into view.
Dip the swab in cleaning fluid and press the damp swab gently
across the centre slot on the drum next to the heads.
While holding the swab very still, use your finger to very gently rotate the head disk at the top of the drum so that one set of heads move back and forth across the stationary swab (the heads will move with the disk). Rotate back and forth two or three times, you should be able to feel a slight drag as the heads make gentle contact with the cleaning swab. When complete, turn the drum so that the next set of heads line up with the swab. Repeat the above procedure until all the heads have been cleaned.
CAUTION: If you move the swab up and down while a video head is in contact with it, the head will be permanently misaligned and the machine may be ruined! So be sure to hold the swab still and move only the heads. (And never try to use a spray cleaner inside a VCR: I know of one formerly great beta machine which has a seized drum because of this mistake!)
While you are in there, it might be a good idea to also gently clean the fixed erase head and control heads, as well as some of the accessible tape path. (Though I have yet to find any dirt on any of these, maybe because I avoid using the cheap tapes?)
Now replace the circuit board and its screws, if you had to remove any for access to the heads. Now, you could run a test at this point before replacing the case by plugging in the machine and inserting a tape to see how the picture looks. In fact it is interesting watching all those parts do their thing while the case is off. Otherwise, replace the case and then test.
See also the belt and pinch roller cleaning guides.